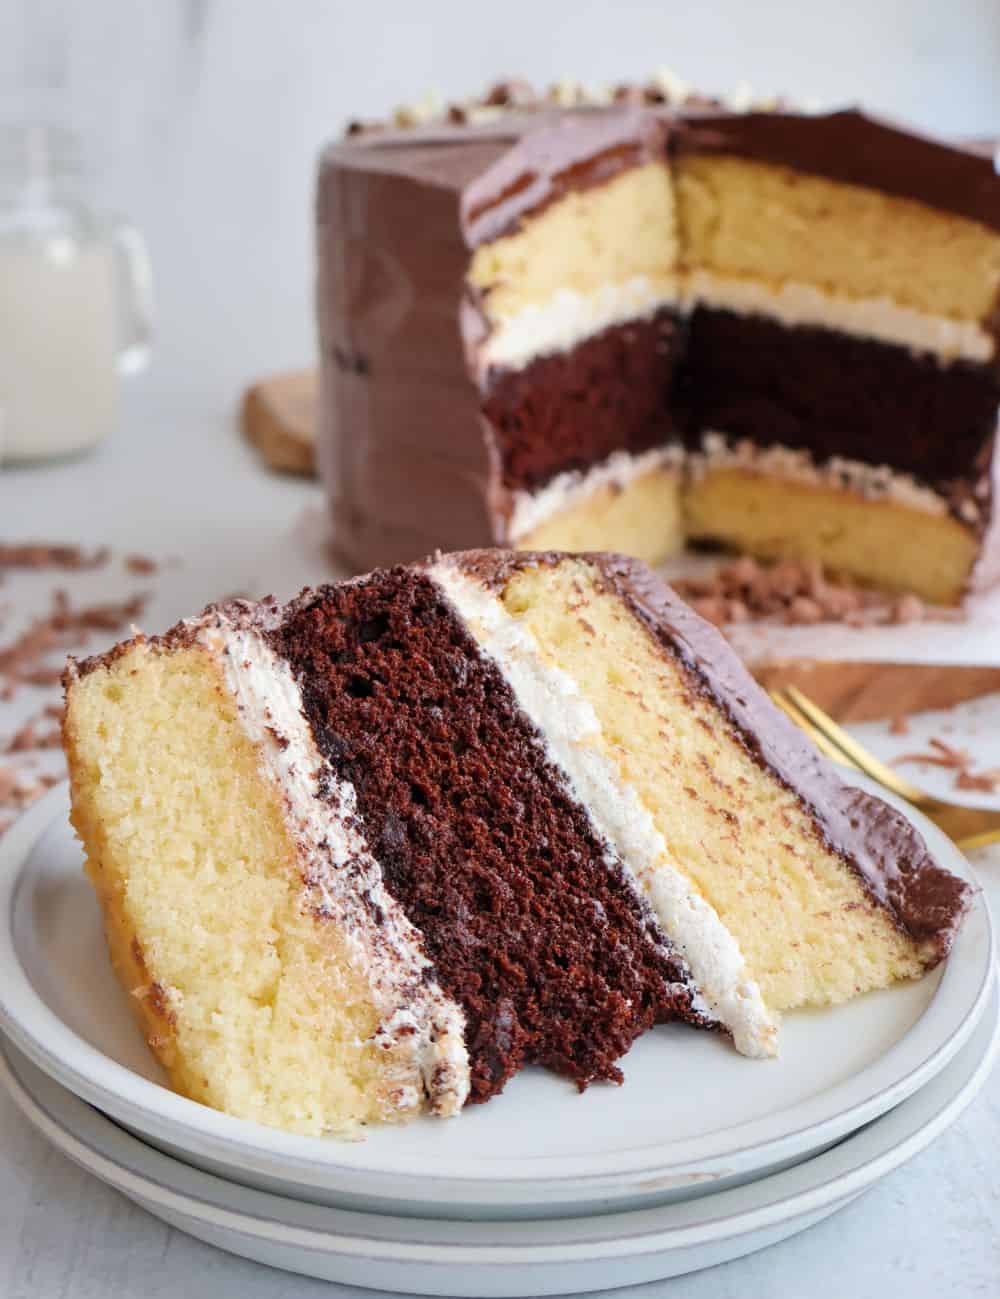
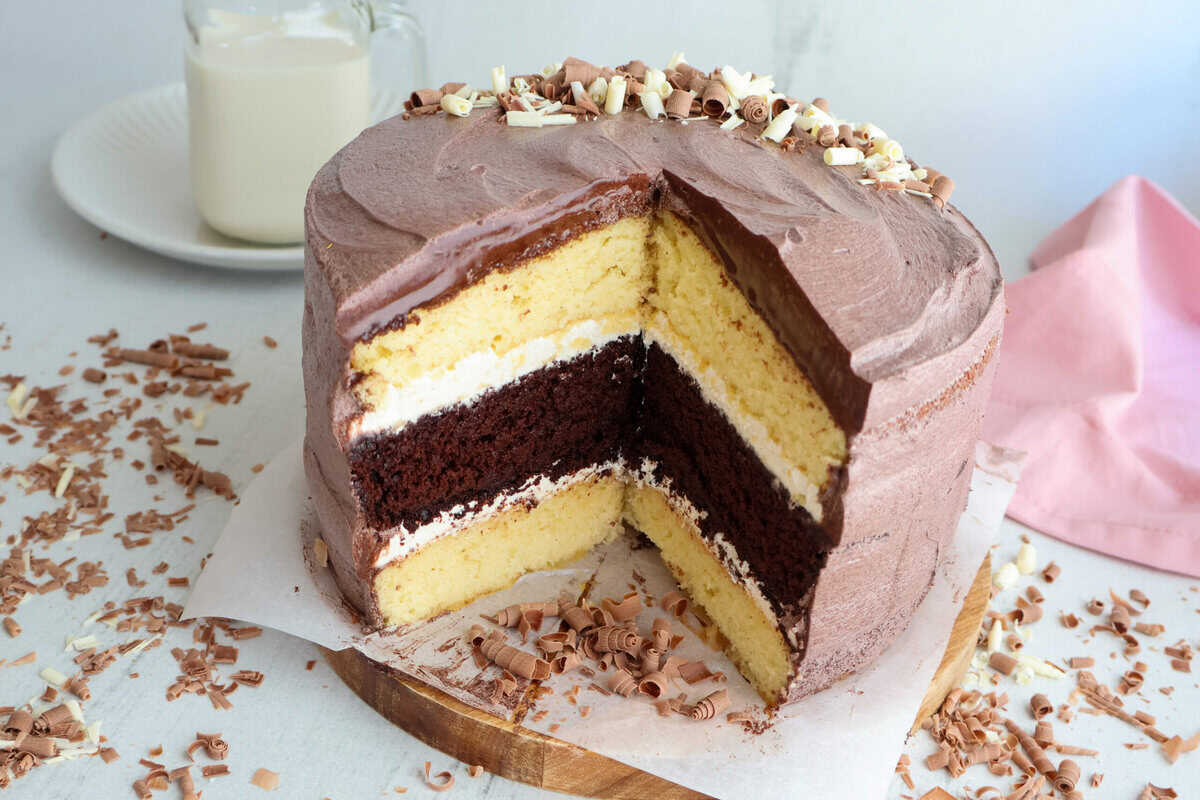
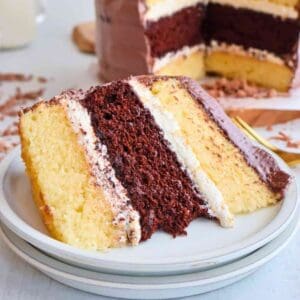
Sink your fork into this amazing Gluten Dairy Free Cake layered with chocolate and vanilla buttercream frosting. This cake recipe is super easy to make and will change the way you look at gluten-free baking! It's the perfect way to celebrate a birthday, graduation, retirement, or use as a simple dessert with family and friends.
Quick Look: Gluten Dairy Free Cake
- ⏱ Prep Time: 30 minutes
- 🔥 Cook Time: 1 hour 35 minutes
- ⏳ Total Time: 2 hours 5 minutes
- 🍰 Serving: 8 slices
- ⚡ Calories: 769 calories per slice
- 🎂 Flavor Profile: Bold gluten free chocolate cake flavor with a sweet frosting finish
- 👌 Difficulty: Easy, perfect for an amazing end to your meal
SUMMARIZE & SAVE THIS RECIPE ON:
If you are like me, choosing between vanilla and chocolate can be a heck of decision. I think I solved that problem (for now) by combing the two to make this perfect cake. In fact, I originally created this recipe with one of my best friends while throwing her daughter a birthday party. We spent hours giggling like school girls as we made a mess in my kitchen. It's one of those moments you look back and cherish. It gives me perspective on just how far my baking skills have come.
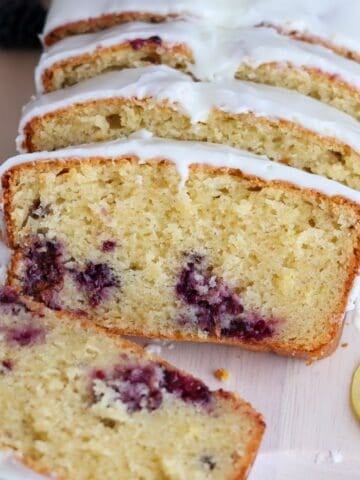
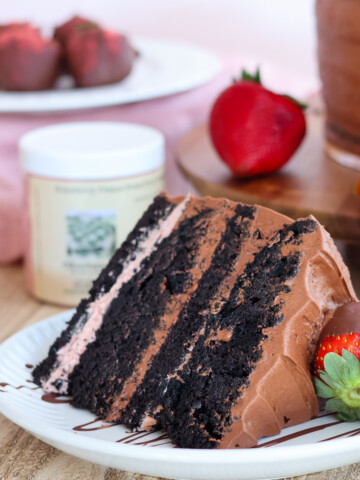
If chocolate cake is your vibe, I have a few other amazing gluten free cake recipes you should try! Nutella Buttercream, Chocolate Strawberry Cake, and my Chocolate Peanut Butter Cup Cupcakes are all so creamy and dreamy. If vanilla is more your style, look towards my White Chocolate and Raspberry Cake or my Pistachio Cannoli Cake for inspiration.
Jump to:
Why You’ll Love This Recipe
- Texture - This cake is extremely tender and moist thanks to the dairy-free Greek yogurt. It creates a perfect mixture to make sure each slice of this layer cake turns out perfectly.
- Balance of Flavors - This gluten-free vanilla cake is sweet, but not too sweet. Add in a hint of chocolate and there is a taste for everyone at your table.
- Easy Ingredients - This is an easy cake for any baker! Most, if not all, of the ingredients can be found in your pantry. This keeps this manageable when making your masterpiece vanilla cake.
⭐️⭐️⭐️⭐️⭐️
"Okay this cake was the biggest hit at my son's birthday part the other week! We had family over and it was gone in no time. Wish I had saved myself an extra slice!"
- Caroline K.
Ingredients
You'll find a complete list of ingredients and their exact amounts in the recipe card at the end of the post.

- Gluten-Free Flour - Use a quality 1:1 baking flour. I like King Arthur Measure for Measure Gluten Free Flour but any gluten-free flour blend will work. Just make sure to check your labels as not all are created equal. Some contain milk powder.
- Dairy Free Butter - Adds richness to the cake while making sure it remains moist. A great substitute for any recipe that needs to be dairy-free.
- Baking Soda - This helps the cake rise in even layers.
- Singing Dog Vanilla Frosting and Cocoa Vanilla Frosting - These frosting mixes are made with all-natural ingredients including organic vanilla bean extract and organic vanilla bean specks. It’s free of preservatives and only requires a couple of easy ingredients to bring it together.
How to Make Gluten Dairy Free Cake | Chocolate + Vanilla
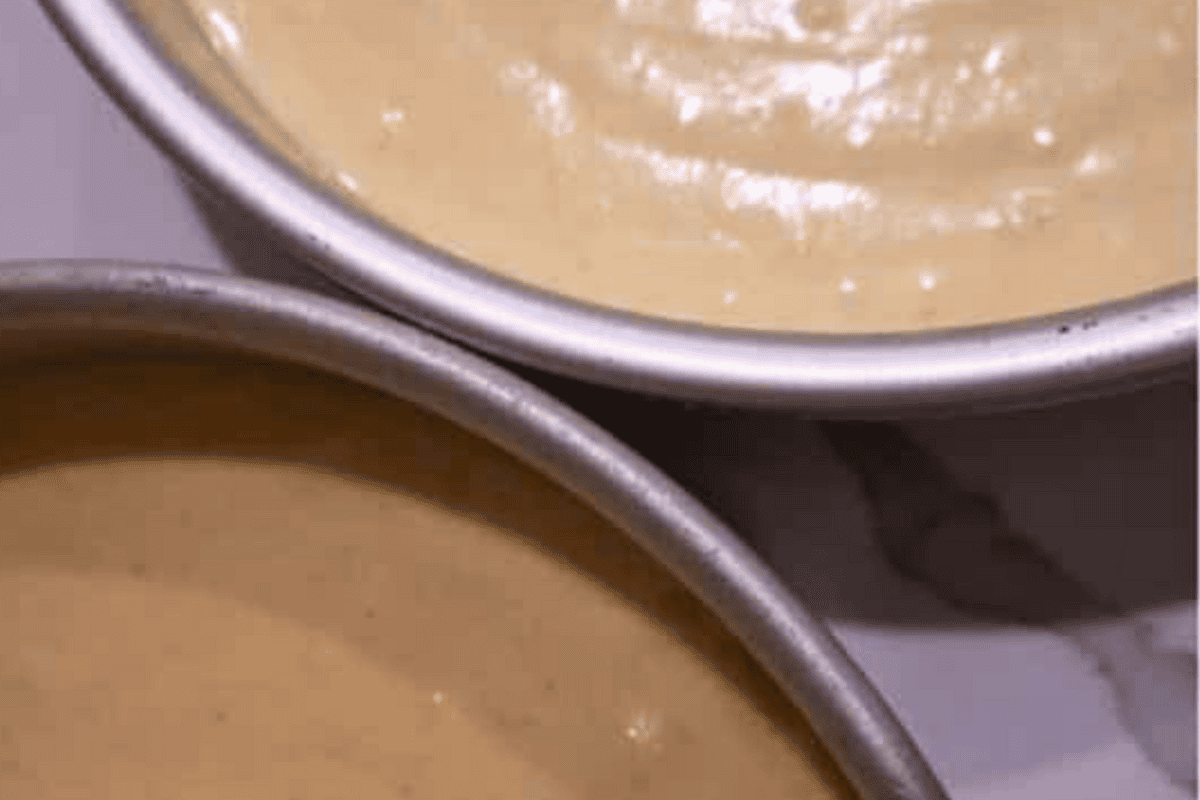
Step 1. Preheat your oven to 350 °F. Lightly grease three 8” cake pans and line their bottoms with parchment paper. You can bake all three cakes at the same time to save time.
Step 2. Combine your wet and dry ingredients in a large mixing bowl to create your vanilla batter. Mix well until all ingredients are combined and smooth. The batter will be wet and pudding-like. Put the batter in two of the cake pans. Then, do the same for your chocolate batter and add it to the final cake pan. Cook the cakes for 30-35 minutes, or until a toothpick comes out clean. Once done, use a wire rack to let the cakes cool for an hour before frosting.
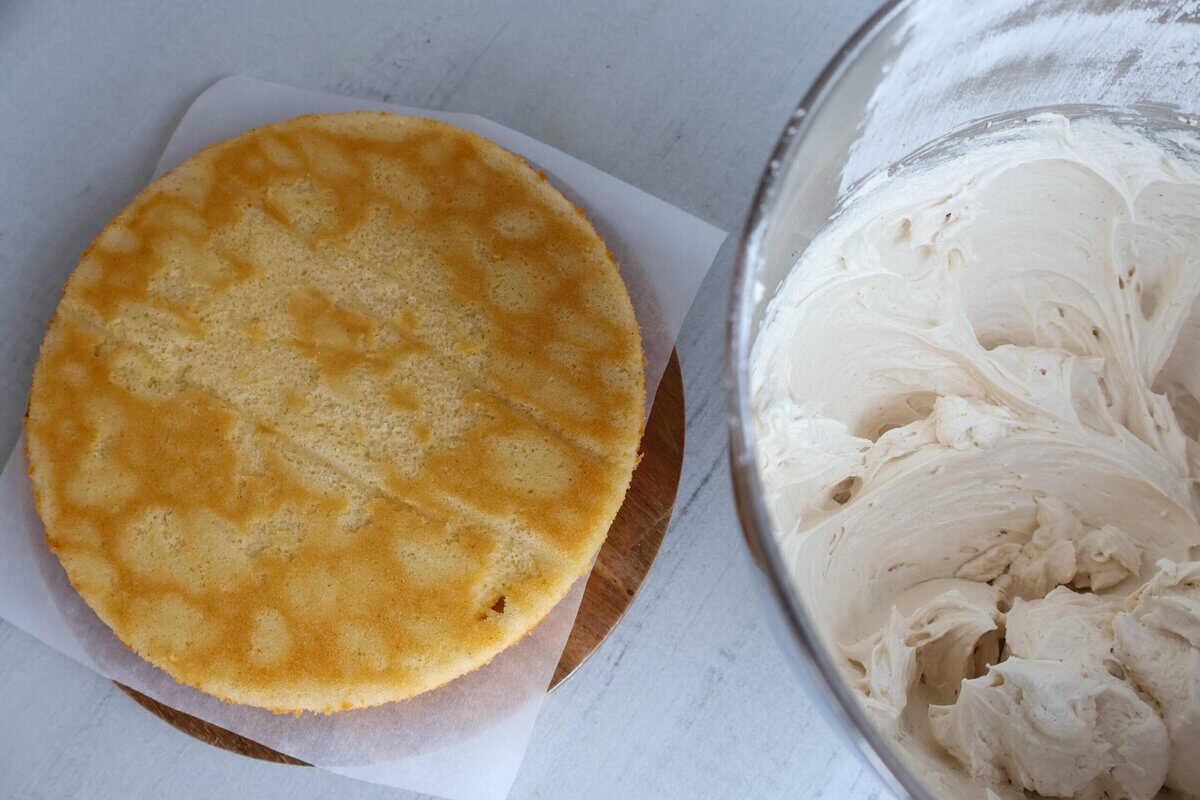
Step 3. Follow the frosting instructions on the packaging to make your buttercream. Then, use a serrated knife to cut off the mounding part of your cake. This will make two flat even layers, preventing your layers from separating.
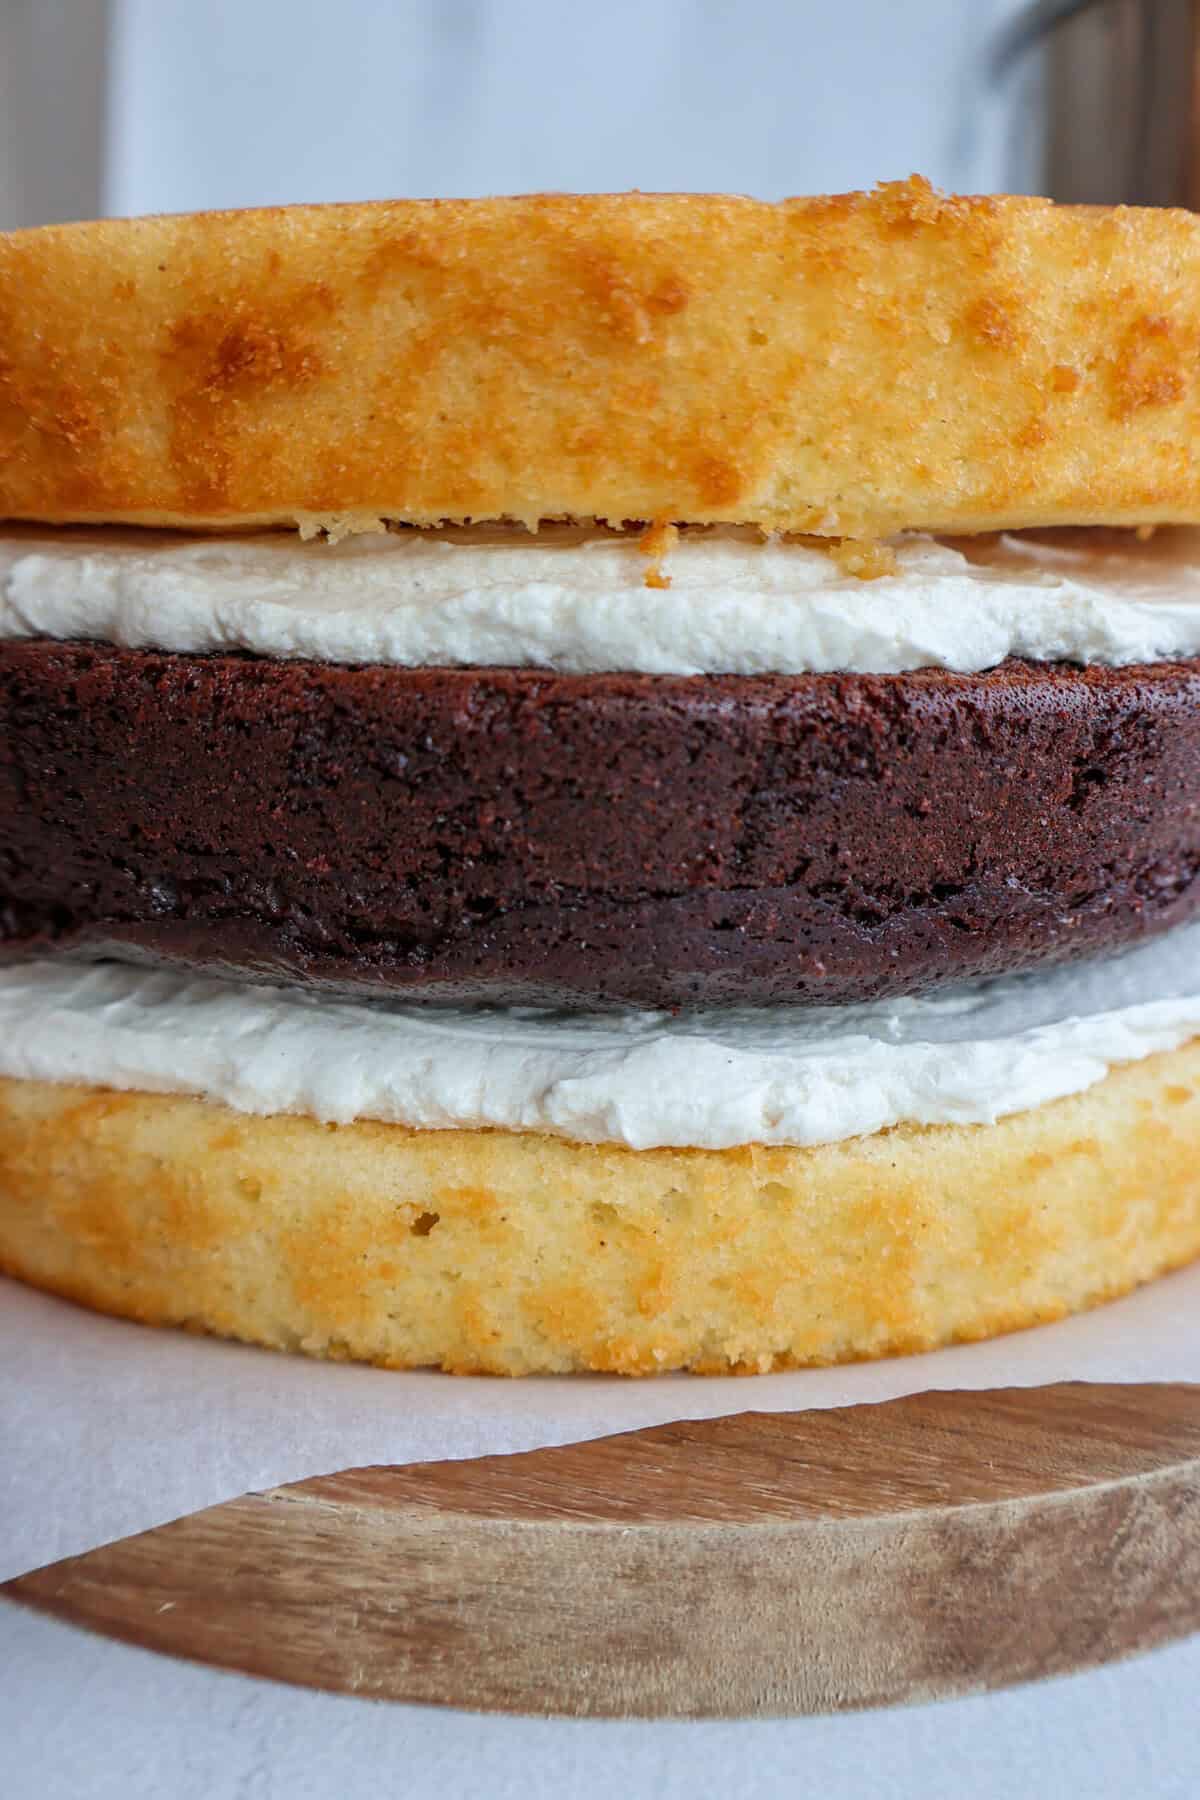
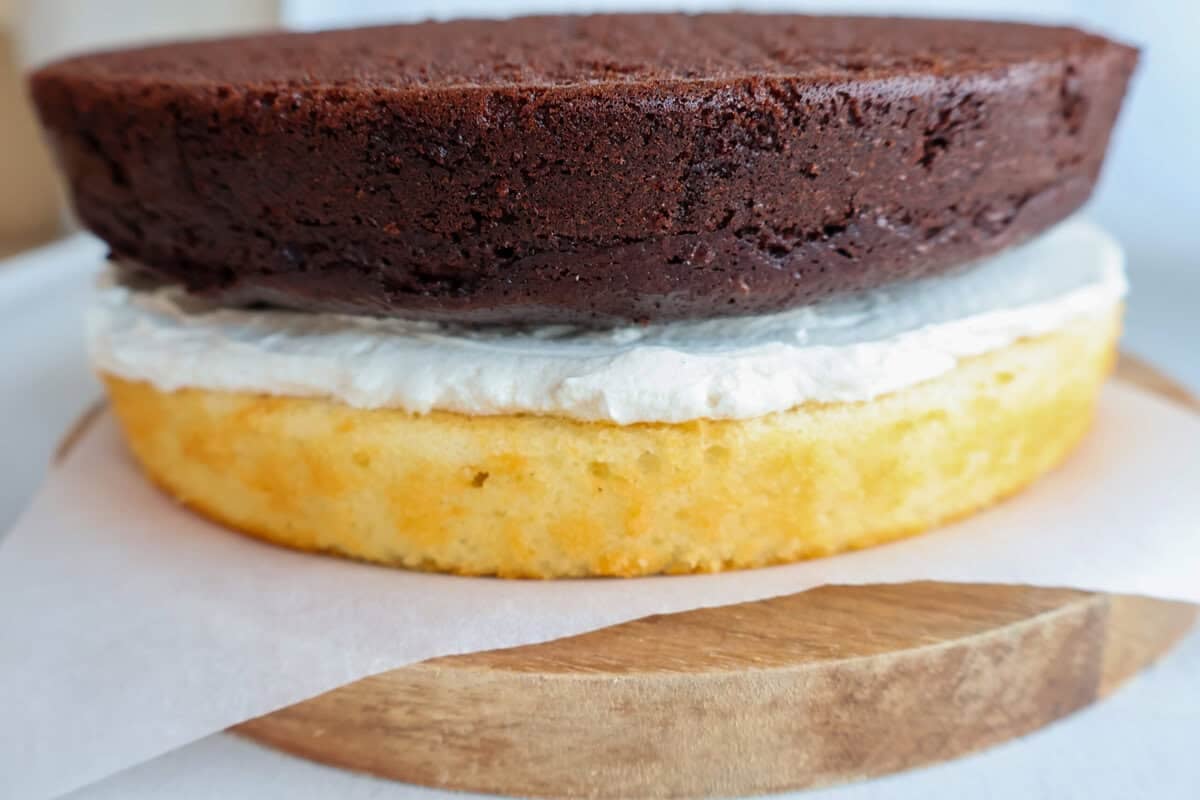
Step 4. Place one vanilla cake on the bottom and spread vanilla frosting evenly over the top of it. Once it is frosted, add the chocolate layer and frost it with more vanilla frosting. Finally, add the last vanilla cake on top.
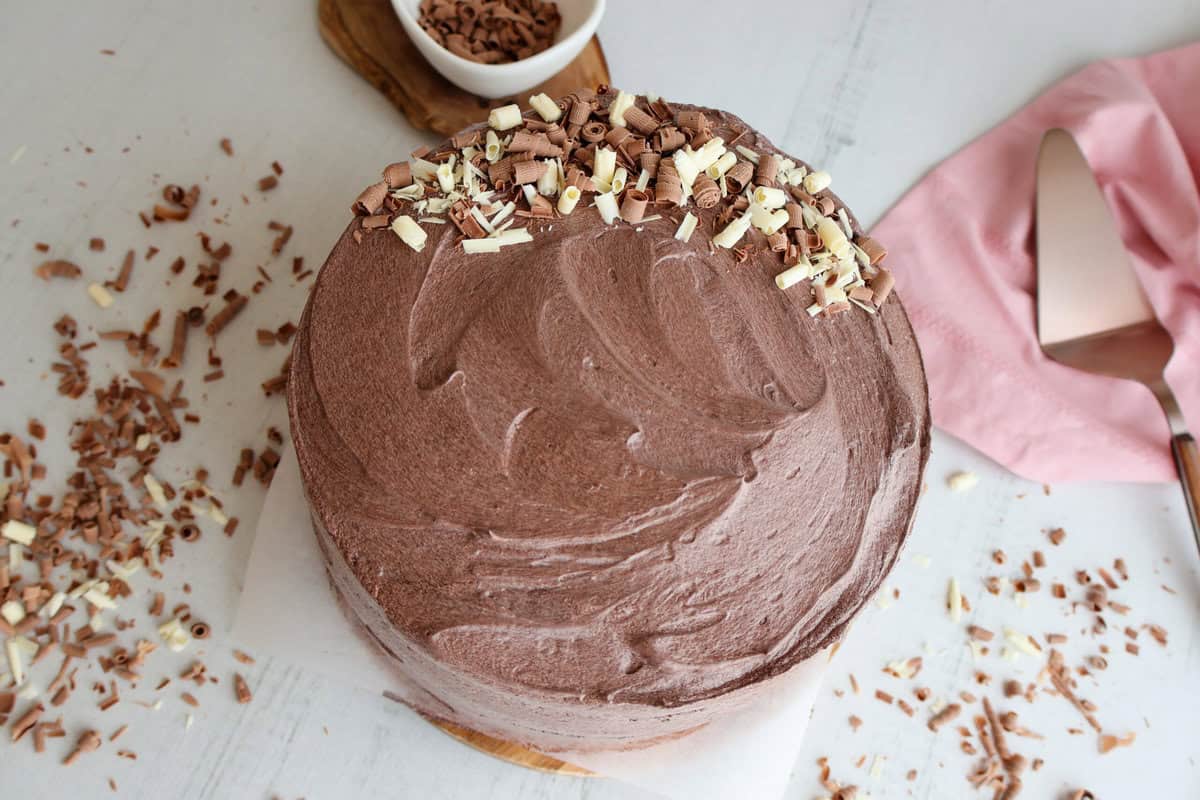
Step 5. Now use the dairy free chocolate frosting to cover the sides and top of the cake. Smooth it out to give a finished bakery style look. Garnish with shaved chocolate for decoration.
Step 6. Once your cake is frosted, keep it stored in an airtight container or cake holder in the refrigerator. When ready to serve, allow it to sit out for an hour before cutting.
Expert tips
- Use Room Temperature Ingredients - Eggs, yogurt and milk will all bind with other ingredients better if at room temp. This will make your batter smooth and your cake taste fantastic.
- Cool Before Frosting - You MUST let the cake properly cool before you try to frost it. If it is still warm, it will melt the frosting and you will have a mess on your hands!
- Don't Over-Mix - Gluten Free cakes are sensitive so less is usually better. Over mixing the batter will give you a heavy and dense cake.
- Use Boiling Water - Boiling water helps to activate the cocoa powder in the chocolate cake and intensifies the flavor. This is how you get a soft, fluffy texture we all know and love.

Gluten Dairy Free Cake | Chocolate + Vanilla FAQ's
It depends. Most gluten-free flours use rice flour so it will typically work for this recipe. Almond flour has not been tested with this recipe so you should avoid it for now. More context: 1:1 Gluten Free flour typically has xanthan gum already inside. Make sure yours has it for the best results.
How long this chocolate and vanilla layer cake lasts depends on several factors including how it is stored. If kept properly refrigerated it will last up to 4-5 days.
Yes! You can freeze this dairy free dessert. Allow them to completely cool after baking. Tightly wrap them in plastic wrap and then place them in freezer-safe bags making sure all of the air is out of them. They will last in the freezer for up to three months. When ready to use, allow them to defrost in the refrigerator overnight.
Yes! You can use traditional flour and milk for this cake as long as you do not have a gluten or dairy allergy. Be aware, the change in ingredients will change the cook time so keep an eye on your cakes as they cook.
More Amazing Cakes to Try


★ Did you make this recipe? Don't forget to give it a star rating below! I would love to hear back from you! You can also FOLLOW ME on Instagram, Pinterest, Facebook, and TikTok for more delicious recipes.
📖 Recipe
Gluten Free Dairy Free Cake | Chocolate & Vanilla
Video
Ingredients
Vanilla cake - Wet ingredients
- ¾ cup Greek yogurt dairy-free
- ¼ cup vegetable oil or olive oil
- ½ cup plant butter softened
- 1 cup oat milk or coconut milk room temperature
- 1 tablespoon vanilla extract singingdog
- 6 eggs room temperature
Vanilla cake - Dry ingredients
- 2 ¾ cup gluten free flour
- 3 tablespoon corn starch
- 2 ¼ cup sugar
- 4 teaspoon baking powder
- ½ teaspoon salt
Chocolate cake - Wet ingredients
- ⅔ cup sugar
- 1 teaspoon apple cider vinegar
- 1 tablespoon vanilla extract singingdog
- ¼ cup brown sugar
- 2 eggs
- ⅓ cup vegetable oil
- ⅔ cup water boiling
Chocolate cake - Dry ingredients
- ¾ teaspoon baking powder
- ½ cup cocoa powder
- ¾ cup 1:1 Gluten free flour
- ½ teaspoon baking soda
- ¼ teaspoon salt
Instructions
Preparation
- Preheat your oven to 350 ℉.
- Lightly grease three 8” cake pans and line their bottoms with parchment paper. You can bake all three cakes at the same time if desired.
Vanilla cake
- Add all of your ingredients to a bowl and mix to thoroughly combine.
- Add the dairy free butter and half of the sugar to the bowl of your mixer and mix on high for a minute and a half. It will become light and fluffy.
- Add in the remaining sugar and oil and mix for about a minute until fluffy.
- Add your eggs one by one, mixing after every two.
- Next, add your vanilla and mix until just combined.
- Carefully add half of your dry ingredients and mix, followed by the milk and yogurt.
- Once that has been incorporated add your remaining dry ingredients and mix until completely combined. The batter will be wet and pudding-like.
- Divide the vanilla cake batter between two prepared cake pans.
Chocolate cake
- Add all of your dry ingredients to a bowl and whisk to combine them.
- Pour your oil into the dry ingredients followed by the eggs and mix on medium speed until completely incorporated.
- Add the sugar, brown sugar, apple cider vinegar, vanilla, and boiling water and mix on medium high for 3-4 minutes until completely combined. Pour the batter into the third cake pan and spread it out evenly.
- Allow your three cakes to bake for 30-35 minutes, or until a toothpick comes out clean.
- Let your cakes cool for an hour before frosting.
- Follow the directions on the package for the frosting and prepare them accordingly.
Assemble
- To assemble your cake, flip over a vanilla cake, making the flat bottom the top.
- Evenly spread some of the vanilla frosting over the top of it.
- Top the cake with the chocolate cake, making the bottom the top.
- Frost with more vanilla frosting.
- Stack the final vanilla cake on top.
- Spread the chocolate frosting over the top and down the sides, smoothing it out.
- You can garnish with shaved chocolate if desired.
Notes
- For the Singing Dog Vanilla frosting, I use dairy-free butter and almond milk to make it dairy free. You can adjust the amount of almond milk to achieve your desired consistency. Typically, I use 3-4 tablespoons of almond milk.
- Make sure that all of your ingredients like the eggs, yogurt, and milk are at room temperature. This helps keep the cake tender and allows all of the ingredients to mix together smoothly without over-mixing.
- Don’t over-mix the batter! This will give you that tender crumb you crave. Over-mixing can result in a heavy and dense cake.
- Let the cake cool completely before adding your frosting. Not only do you not want to melt your frosting, but gluten-free cakes are more fragile in texture than wheat-based caked. No one wants their frosting sliding off.
- The cakes themselves can be made ahead of time. Allow them to cool completely and then tightly wrap them in plastic wrap. Make sure the cakes are completely covered and the plastic wrap is hugging the cakes so no air can get them.
- Place the all-wrapped-up cake in an airtight container or cake carrier and keep it refrigerated until ready to frost.
- Once your cake is frosted you will want to keep it stored in an airtight container or cake keeper in the refrigerator. When ready to serve, allow it to sit out for an hour before cutting.


Elaine says
I've been looking for a gluten-free cake recipe for a while and this is the best I've tried so far! Really tasty and looks so lovely!
Nicole Kendrick says
This is the best cake and it works great for all holidays! Enjoy!
Anonymous says
This worked exactly as written, thanks!
Nicole Kendrick says
YAY! I love to hear that! Thank you so so much!
Mia says
You would never guess this was gluten free! So good!
Nicole Kendrick says
I agree! It tastes like an amazing cake and everyone always loves it!