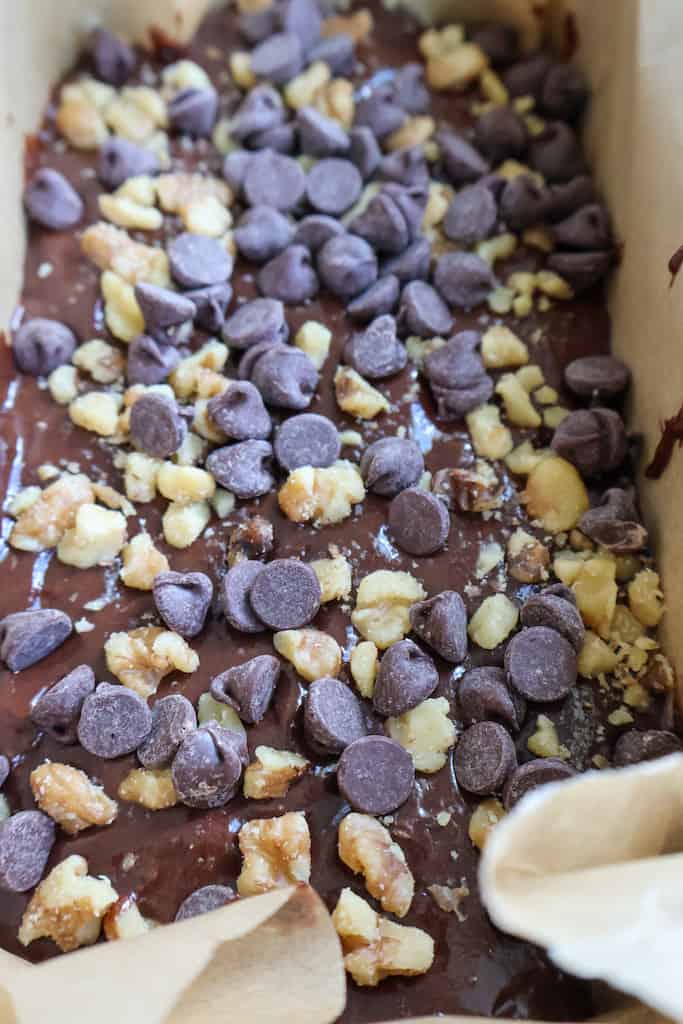
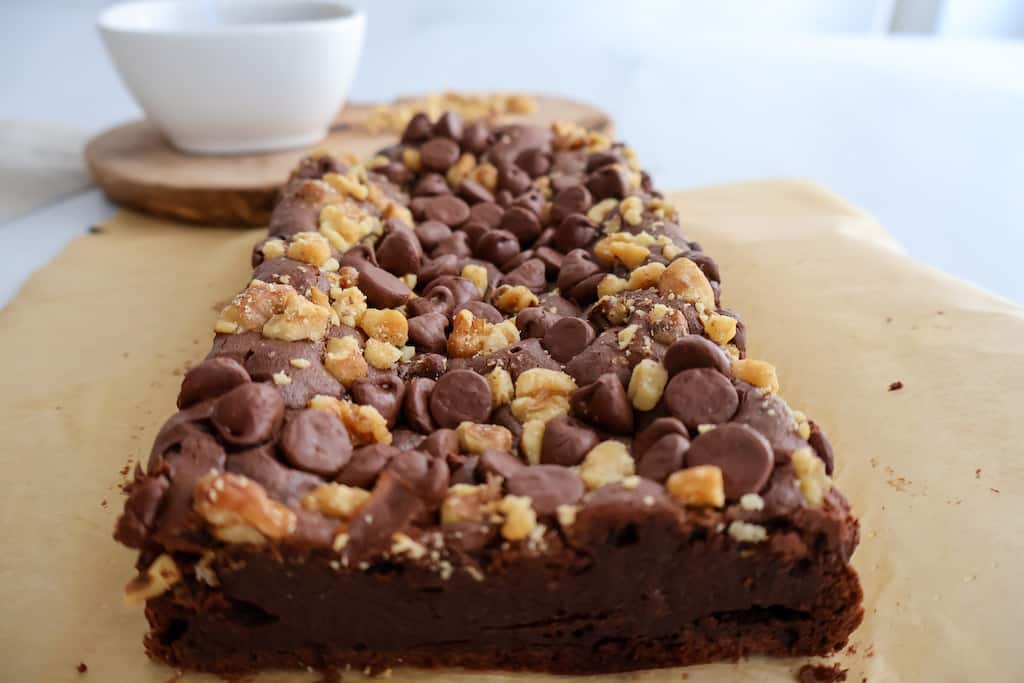
Two ingredients to make these Magic brownie bars! That’s it! Now of course, I had to add some chocolate chips and walnuts as a topping, but the truth is you don’t need those add-ons in order to make these bars! These are refined sugar-free, grain-free, dairy-free, and gluten-free! These make a perfect snack or even an on-the-run breakfast bar.
Brownie bars are a sweet and delicious treat that are perfect for satisfying your sweet tooth. These bars are easy to make and can be enjoyed on their own or paired with a scoop of ice cream for an extra indulgent dessert. In this blog post, we'll take a closer look at brownie bars and why they're worth trying.
One of the best things about brownie bars is that they're versatile. You can make them in a variety of flavors, such as chocolate or peanut butter. Additionally, they can be customized to your liking by adding nuts, chocolate chips, or even pistachios.
Another reason why brownie bars are worth trying is that they're easy to make. With just a few simple ingredients and a baking pan, you can have a delicious batch of brownie bars in no time. Plus, they're a great dessert option for those who may not have the time or energy to make a full cake or batch of cookies.
Additionally, brownie bars are a crowd-pleaser. They're perfect for bringing to parties or gatherings, and they're sure to be a hit with both kids and adults. With so many different flavor options, you can cater to everyone's tastes.
Jump to:
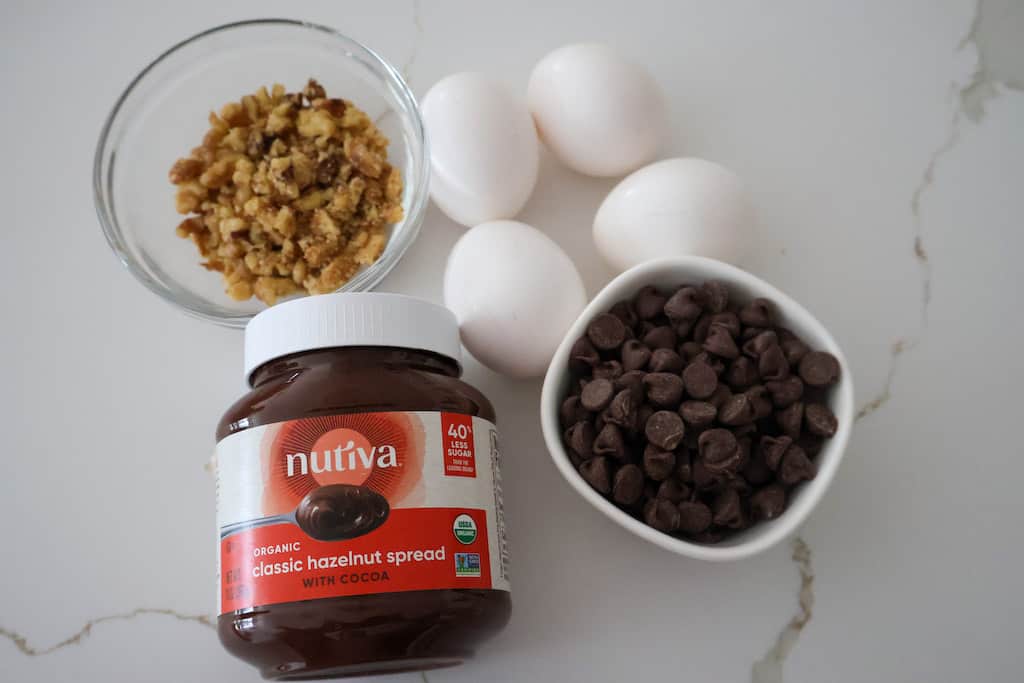
Ingredients
See recipe card for quantities.
Instructions to cook Magic brownie bars
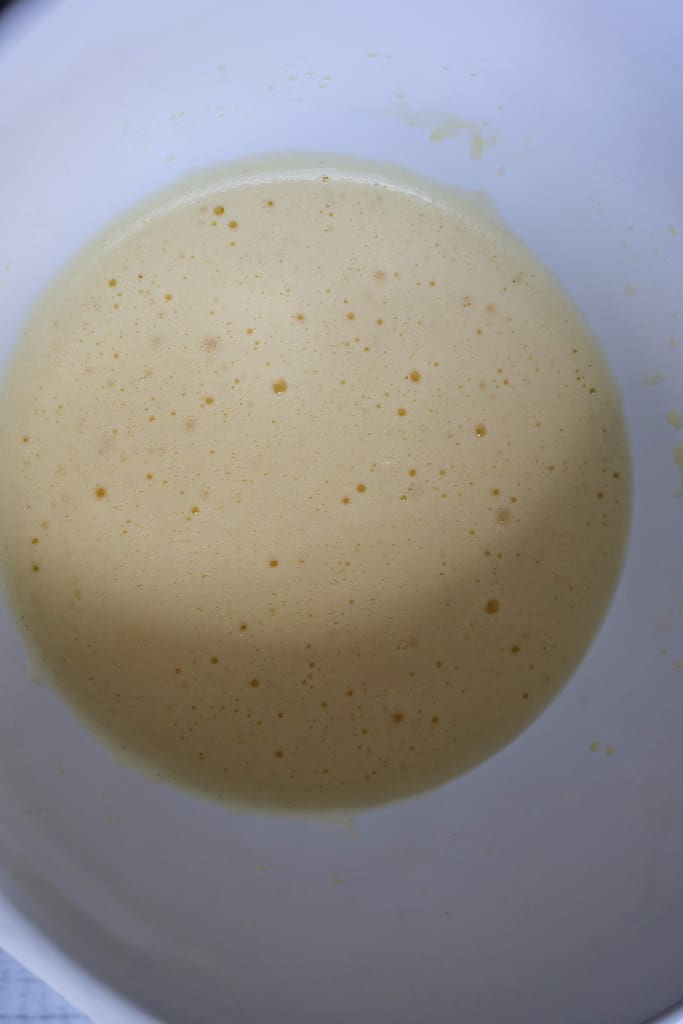
- Place eggs into a mixer. On medium-high, mix until you have a light and airy consistency as shown in the video.
- This will take between 3 and 4 minutes.
- Next, add in your hazelnut spread and mix on medium-high until all combined.
- Line a loaf pan with parchment paper, and bake at 350°F for 30 to 35 minutes.
- Place on a baking rack and allow to cool for 20 minutes before removing from pan.
Storage
To store the gluten-free brownie bars, let the brownie bars cool completely before storing them. This will help prevent condensation from forming inside the container and causing the brownies to become soggy. In addition, place the brownie bars in an airtight container or wrap them tightly in plastic wrap or aluminum foil. This will help prevent air and moisture from getting to the brownies, which can cause them to dry out or become stale. Store the brownie bars at room temperature, in a cool, dry place. They should last for up to three days in an airtight container.
If you need to store the brownie bars for a longer period of time, you can freeze them. Wrap each brownie bar individually in plastic wrap and then place them in a freezer-safe container. They can be stored in the freezer for up to three months.
Pro tip
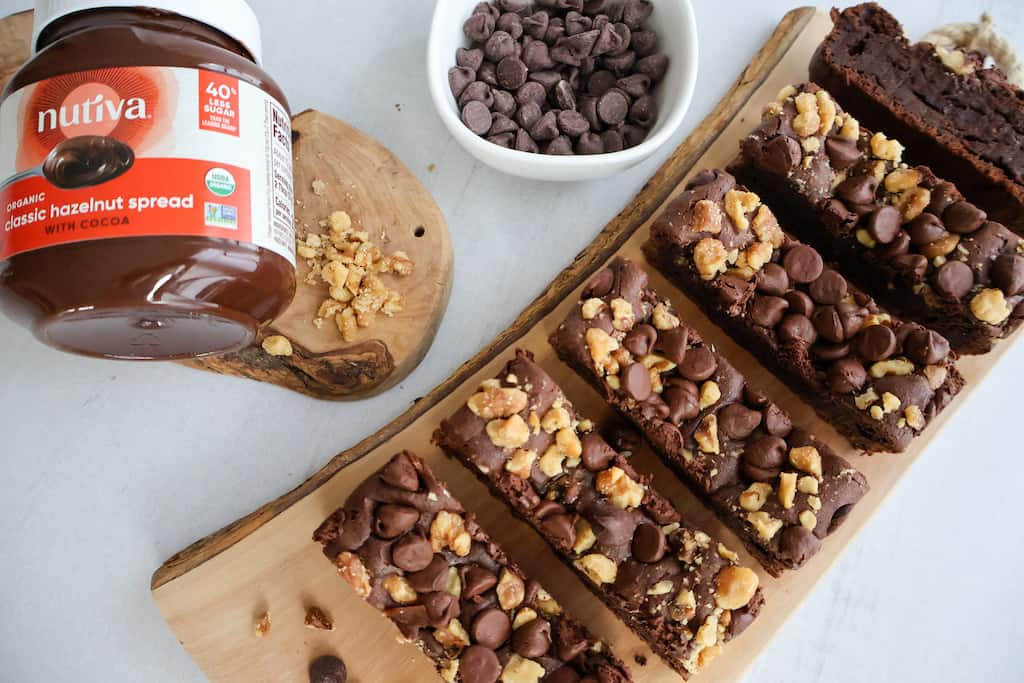
Use high-quality chocolate hazelnut spread like Nutiva. Brownies are all about the chocolate, so it's important to use good quality chocolate that you love. If you are not concerned about dairy or sugars, Nutella also works great in these bars.
Equipment
- Whisk and electric mixer: You'll need a whisk to combine the dry ingredients and an electric mixer to combine the wet ingredients.
- Spatula: A spatula will help you scrape the sides of the mixing bowl and spread the batter evenly in the pan.
- Cooling rack: Once the brownie bars are finished baking, you'll need a cooling rack to let them cool completely before slicing and serving.
FAQ
Can I add nuts or other mix-ins to my Magic Brownie Bars?
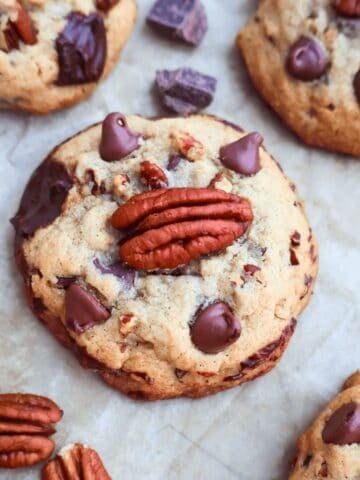
Yes, you can add nuts or other mix-ins to your Magic Brownie Bars. Chopped nuts, such as walnuts or pecans, would be a great addition to the bars. You could also add chocolate chips or shredded coconut to the cookie dough layer for extra flavor and texture.
Can I make Magic Brownie Bars ahead of time?
Yes, you can make Magic Brownie Bars ahead of time. Simply bake the bars as directed, and then allow them to cool completely. Once cooled, cover the bars with plastic wrap or foil and store them in the refrigerator for up to 3 days. You can also freeze the bars for up to 2 months. To thaw the bars, simply let them sit at room temperature for 1-2 hours.
★ Did you make this recipe? Don’t forget to give it a star rating below! I would love to hear back from you! You can also FOLLOW ME on Instagram, Pinterest, Tiktok, and Facebook for more delicious recipes!
📖 Recipe

Magic Brownie Bars
Equipment
Ingredients
- 4 eggs room temperature
- 10 ounces nutiva chocolate hazelnut spread
- chocolate chips and crushed walnuts optional
Instructions
- Place eggs into a mixer. On medium high, mix until you have a light and airy consistency like shown in the video. This will take between 3 and 4 minutes.
- Next, add in your hazelnut spread and mix on medium high until all combined.
- Line a loaf pan with parchment paper, bake on 350°F for 30 to 35 minutes.
- Place on baking rack and allow to cool for 20 minutes before removing from pan.


Colette Weaver says
Hi. I am allergic to hazelnuts. Is there any substitution?
Thank you.
NKendrick says
Absolutely, you can use peanut butter or sunbutter!