
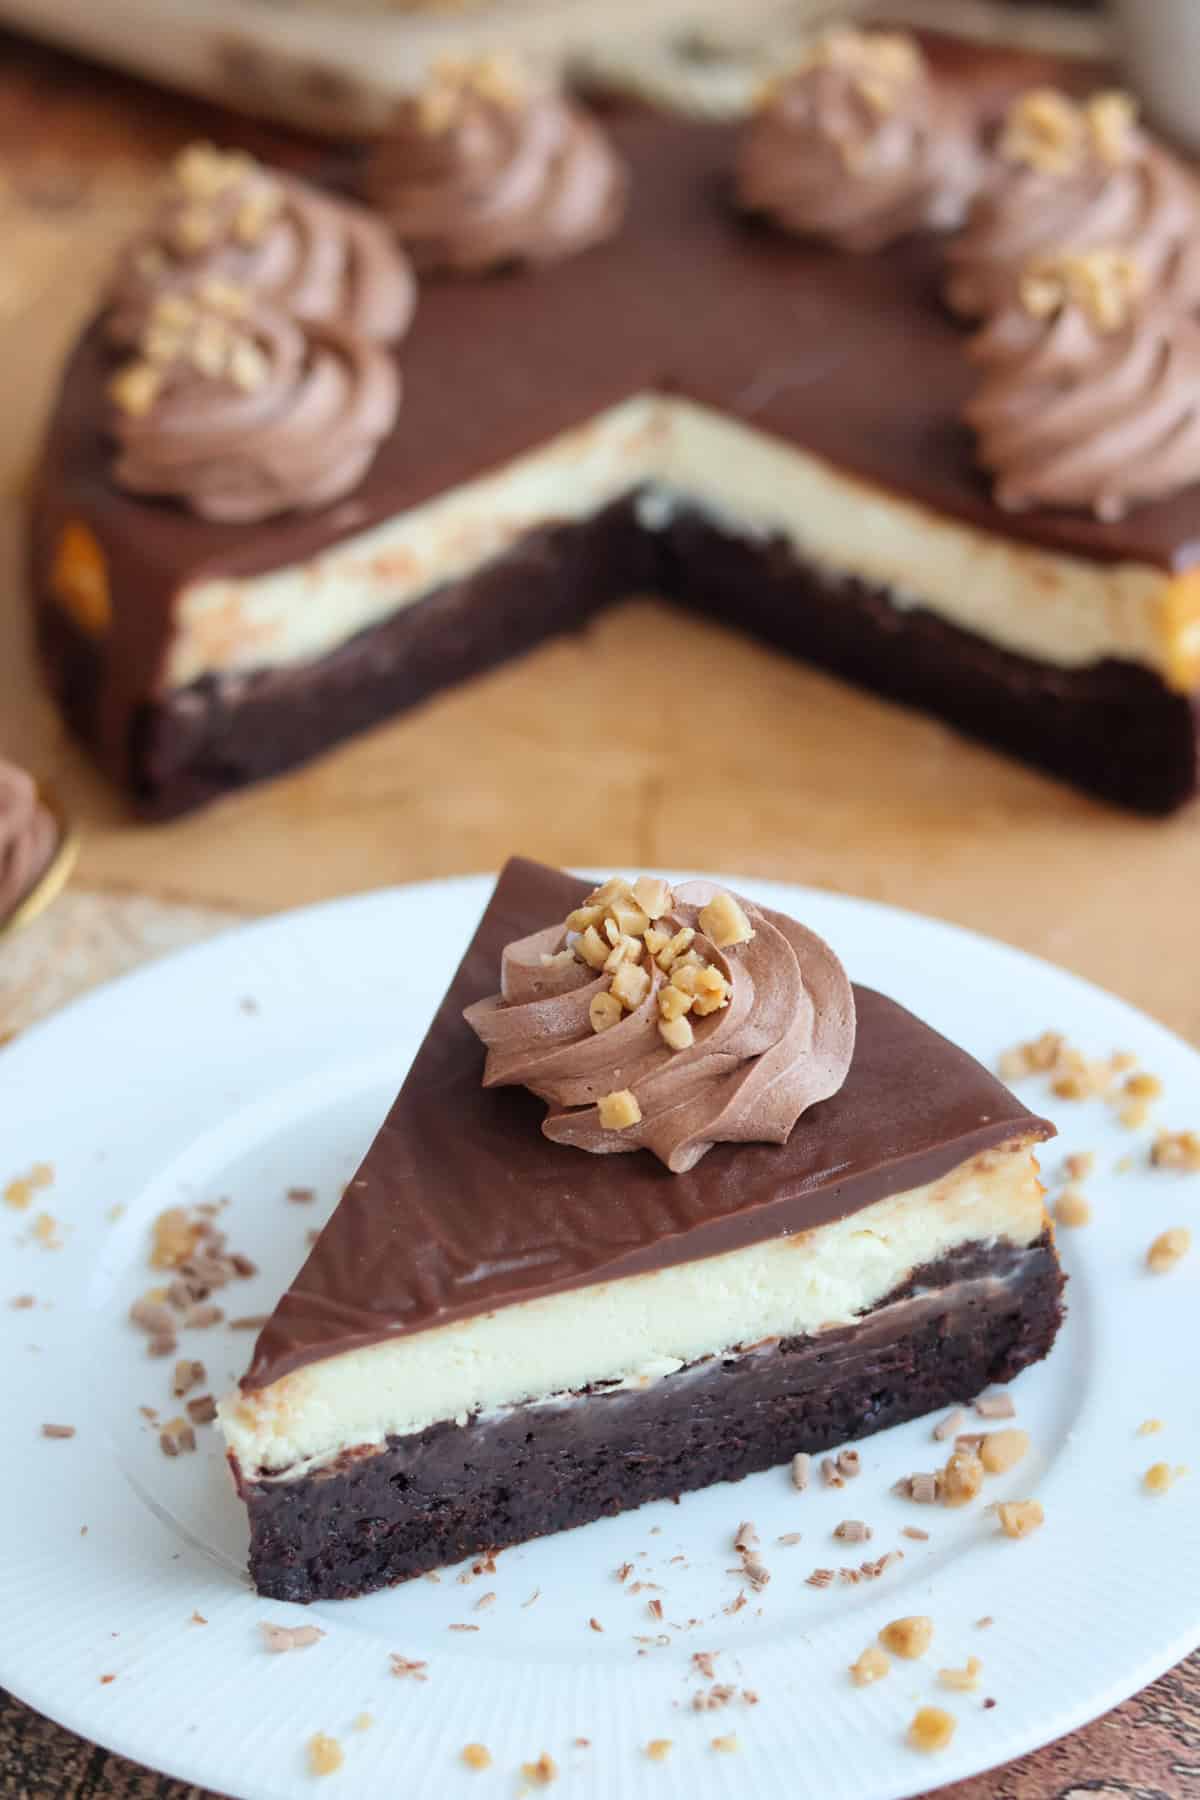
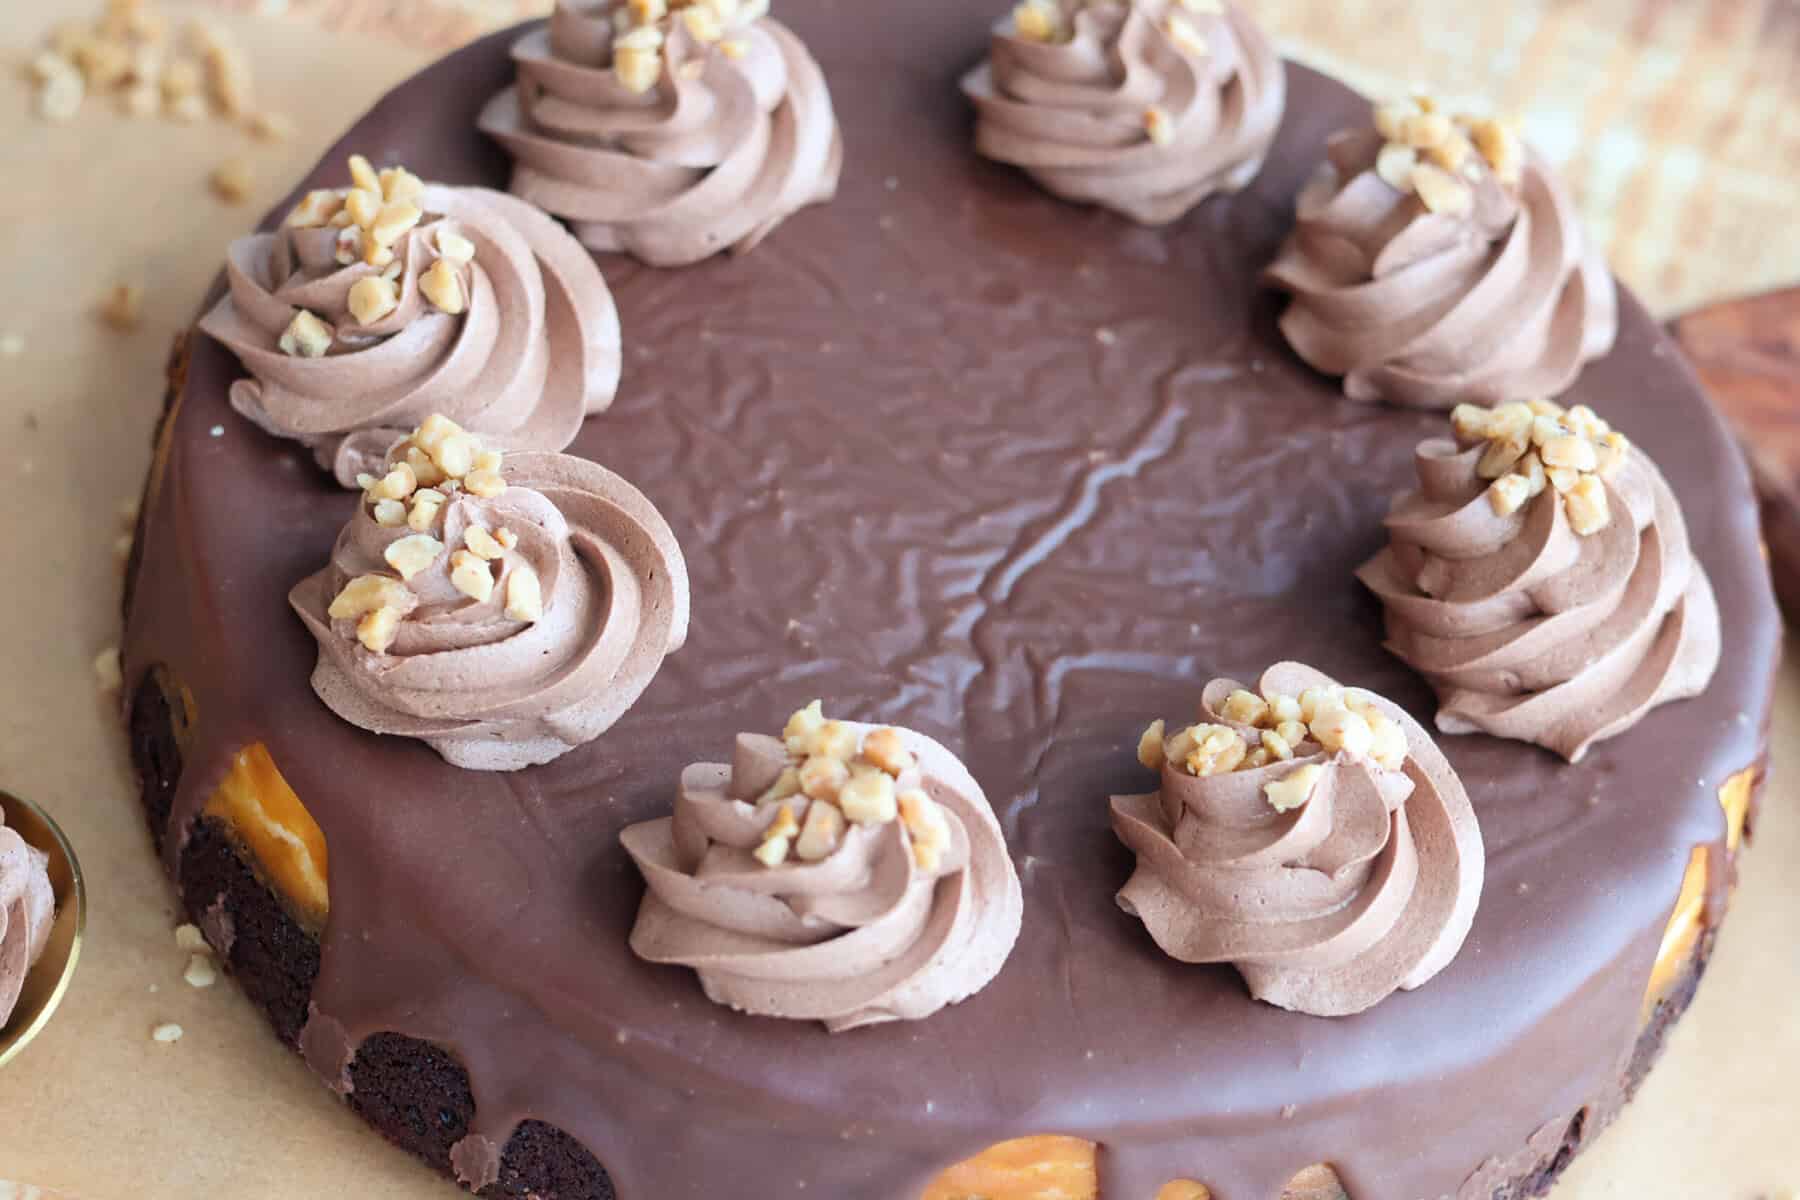
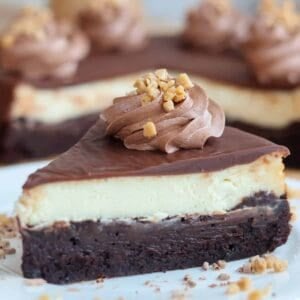
This brownie bottom cheesecake combines a fudgy chocolate brownie layer with a smooth, creamy vanilla cheesecake and rich chocolate ganache. The brownie is partially baked before the cheesecake filling is added, so it stays dense and fudgy without turning into a cakey layer. Made with gluten-free 1:1 flour, this cheesecake is a chocolate lover’s dream and can be made ahead for holidays, parties, or any special occasion.
Quick Look: Brownie Bottom Cheesecake
- ⏱ Prep Time: 30 minutes
- 🔥 Cook Time: 2 hours
- ❄️ Cooling Time: 2 hours
- ⏳ Total Time: 4 hours 30 minutes
- 🍲 Servings: 10 slices
- ⚡ Calories: 825 calories per serving
- 🍂 Flavor Profile: Deep, rich chocolate flavor with a tart cream cheese top
- 👌 Difficulty: Medium — This recipe has a few extra steps, including partially baking the brownie layer and gradually cooling the cheesecake, but the techniques are straightforward.
SUMMARIZE & SAVE THIS RECIPE ON:
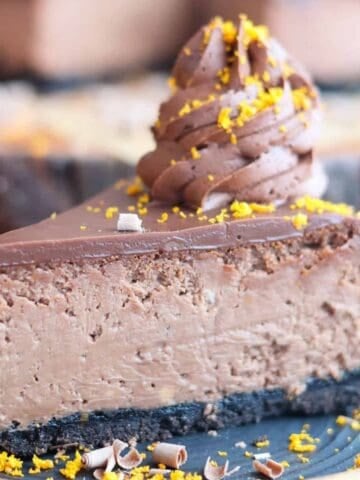
The brownie gets its depth from cocoa and real melted chocolate, while the cheesecake stays smooth and creamy with a blend of cream cheese, sour cream, and heavy cream. I love the way the chocolate ganache melts into the top of each slice, adding another layer of rich chocolate flavor. This gluten-free cheesecake is rich, creamy, and made for chocolate lovers.
Love this layered cheesecake combo? Don’t miss these other decadent favorites like Oreo cake cheesecake, Nutella cheesecake, and red velvet Oreo cheesecake.
⭐️⭐️⭐️⭐️⭐️
This is by far the best cheesecake I've ever had !!! You are the absolute queen of cheesecakes ! Thank you so much !!
- Trish
Why You'll Love This Recipe
- Two Layers in Every Bite: A rich brownie base is baked right underneath a creamy vanilla cheesecake, giving you both layers in every slice.
- Gluten-Free: The brownie layer is made with gluten-free 1:1 flour, so the entire cheesecake is gluten-free.
- Make-Ahead Friendly: The cheesecake needs time to cool and chill, so it’s easy to prepare the day before you plan to serve it.
- Finished with Chocolate Ganache: A layer of chocolate ganache adds even more rich chocolate flavor and brings all three layers together.
Jump to:

Brownie Cheesecake Ingredients
- Semi-Sweet and Milk Chocolate: For the brownie layer, you'll need 2 ounces of semi-sweet chocolate and 2 ounces of milk chocolate, for 4 ounces total. Use chocolate bars or baking chocolate that can be chopped into pieces and melted. I use a Hershey’s chocolate bar for the ganache.
- Gluten-Free 1:1 Flour: Use a gluten-free flour blend labeled “1:1” or “measure-for-measure,” which is designed to replace all-purpose flour evenly in baking.
- Sugar & Brown Sugar: Use regular white sugar and packed light brown sugar. Granulated sugar provides sweetness and structure, while brown sugar adds moisture and a subtle caramel flavor to the brownie layer.
- Cocoa Powder: Use unsweetened cocoa powder for deep chocolate flavor. Sift it if your cocoa has lumps to help it mix smoothly into the batter.
- Cream Cheese: Use full-fat block cream cheese rather than spreadable cream cheese. Let it come to room temperature so it blends smoothly into the cheesecake filling.
- Heavy Cream: Heavy cream adds richness and a smooth texture to the cheesecake and is also used to make the chocolate ganache.
- Sour Cream: Adds tang and moisture to the cheesecake layer. Like cream cheese, it blends best when at room temperature.
Be sure to check the recipe card for the full list of ingredients and quantities of each one.
Flavor Variations
- Nutty Crunch: Add ½ cup chopped walnuts or pecans to the brownie batter before baking for extra crunch.
- Go Dairy-Free: Replace the butter in the brownie layer with vegan butter or coconut oil. For the cheesecake layer, use the dairy-free cheesecake filling from my carrot cake cheesecake, then use coconut cream and dairy-free chocolate for the ganache.
- Salted Caramel Drizzle: Once the ganache has set, drizzle salted caramel over the top before slicing for a chocolate-caramel variation.
- Espresso Boost: Stir 1 teaspoon of instant espresso powder into the brownie batter to deepen the chocolate flavor and add a rich coffee undertone.
How to Make Brownie Bottom Cheesecake
Bring the cream cheese, eggs, sour cream, and heavy cream to room temperature before you begin. Preheat the oven to 350°F and lightly grease a 9-inch springform pan or line the bottom with parchment paper for easier removal.
- Make the Brownie Batter. Melt the butter with 2 oz of semi-sweet chocolate and 2 oz of milk chocolate, stirring until smooth. Whisk in the vegetable oil and cocoa powder, then add the white sugar, brown sugar, eggs, vanilla, and salt. Gently fold in the gluten-free 1:1 flour until just combined.
- Partially Bake the Brownie Layer. Spread the brownie batter evenly in the prepared springform pan. Bake for 17–19 minutes, until the top is set, but the center is still soft. The brownie will continue baking when the cheesecake layer is added, so you don't want to fully bake it yet.
- Prepare the Cheesecake Filling. While the brownie bakes, beat the softened cream cheese until smooth. Add ⅔ cup white sugar, vanilla, sour cream, gluten-free flour, and heavy cream, mixing until combined. Add the eggs one at a time, mixing just until each egg is incorporated.
- Add the Cheesecake Layer. Carefully pour the cheesecake filling over the warm, partially baked brownie layer. Lower the oven temperature to 325°F and return the pan to the oven. Bake for about 45 minutes, until the edges are set and the center has a small, gentle wobble.
- Cool the Cheesecake Gradually. Turn off the oven and crack the oven door open. Leave the cheesecake inside for 45 minutes. Remove it from the oven and let it cool completely before covering and refrigerating.
- Make the Ganache. Break the Hershey’s chocolate bar into smaller pieces and place them in a heatproof bowl. The pieces don't need to be perfectly even, but smaller pieces will melt more easily and evenly. Heat the heavy cream until it is hot but not boiling, then pour it over the chocolate. Let it sit for 2 minutes to soften the chocolate, then gently stir until completely smooth.
- Add the Ganache and Chill. Pour the ganache over the fully chilled cheesecake and gently spread it toward the edges with the back of a spoon or an offset spatula. Refrigerate for about 1 hour, or until the ganache has set. For clean slices, run a sharp knife under hot water, wipe it dry, and slice the cheesecake, repeating between cuts.
✅ Equipment Tip: I love this Circulon Total Springform Pan because the nonstick coating makes it easy to release the cheesecake from the pan, and it’s easy to clean afterward.
Expert Tips
- Use Room-Temperature Ingredients: Let the cream cheese, eggs, and sour cream come to room temperature before making the cheesecake filling. This helps everything blend together smoothly without lumps.
- Gently Mix the Cheesecake Filling: Once you add the eggs, mix only until they're incorporated. Gentle mixing helps keep excess air out of the filling, which can contribute to cracks as the cheesecake bakes and cools.
- Don't Skip the Brownie Pre-Bake: The brownie layer needs a head start in the oven before the cheesecake filling is added. This helps the brownie stay fudgy without becoming soggy underneath the cheesecake.
- Let the Cheesecake Cool Gradually: After baking, turn off the oven and crack the door open, leaving the cheesecake inside for 45 minutes. Gradually lowering the temperature helps reduce the chance of cracks from a sudden temperature change.
- Chill Before Slicing: Let the cheesecake chill completely before cutting into it. For the cleanest slices and best texture, refrigerate it for several hours or overnight.
Storage
- Make Ahead: This brownie crust cheesecake is a great make-ahead dessert. Prepare and bake it the day before serving, then refrigerate overnight. Add the ganache before serving or according to the recipe directions.
- Storing Leftovers: Cover the cheesecake tightly with plastic wrap or store individual slices in an airtight container. Refrigerate for up to 4 days.

Brownie Bottom Cheesecake Recipe FAQs
The edges of the cheesecake should look set, while the center should still have a slight jiggle when you gently move the pan. The cheesecake will continue to firm up as it cools, so avoid overbaking it. A slightly jiggly center is normal and helps keep the cheesecake creamy.
Yes! You can use your favorite boxed brownie mix instead of making the brownie layer from scratch. Prepare the mix according to the package directions, then partially bake the brownie layer before adding the cheesecake filling. Since baking times vary between mixes, watch for the brownie layer to look mostly set but not fully baked before adding the cheesecake.
No. If you don't need the cheesecake to be gluten-free, you can use regular all-purpose flour instead of the gluten-free 1:1 flour. Use the same amount called for in the recipe.


📖 Recipe
Brownie Bottom Cheesecake (Gluten-Free)
Ingredients
Brownie Layer
- ½ cup gluten-free 1:1 flour
- ½ cup salted butter room temperature
- 2 ounces semi-sweet chocolate
- 2 ounces milk chocolate
- 1 ½ cups white sugar
- 4 large eggs room temperature
- 1 cup cocoa powder
- ¼ cup vegetable oil
- ½ cup light brown sugar
- 2 teaspoon Vanilla Extract
- ½ teaspoon salt
Cheesecake layer
- 2 8-ounce packages cream cheese room temperature
- 1 tablespoon gluten-free 1:1 flour
- ⅔ cup sugar
- 1 ½ teaspoon vanilla extract
- ¼ cup heavy cream
- 2 large eggs room temperature
- ¼ cup sour cream room temperature
Ganache
- 7 oz Hershey's chocolate bar
- ⅓ cup heavy cream
Instructions
Brownie Layer
- Lightly grease a 9-inch springform pan. You can also line the bottom with a parchment round. Preheat the oven to 350°F.Melt the butter with 2 ounces of semi-sweet chocolate and 2 ounces of milk chocolate in a microwave-safe bowl. Heat in 30-second intervals, stirring after each one until smooth.
- Whisk in the vegetable oil and cocoa powder, then add the white sugar, brown sugar, eggs, vanilla, and salt. Gently fold in the gluten-free 1:1 flour until just combined.
- Pour the brownie batter evenly into the prepared pan. Bake for 17–19 minutes, until the top looks set but the brownie is not fully baked.
Cheesecake Layer
- While the brownie bakes, beat the softened cream cheese for about 2 minutes, until smooth.
- Add ⅔ cup white sugar and beat until combined.
- Add the vanilla extract, sour cream, gluten-free flour, and heavy cream. Mix until combined.
- Add the eggs one at a time, mixing just until each egg is incorporated.
- Pour the cheesecake filling over the partially baked brownie layer.
- Reduce the oven temperature to 325°F and return the springform pan to the oven. Bake for 45 minutes, until the edges are set and the center still has a slight jiggle.
- Turn off the oven and crack the door open. Leave the cheesecake in the oven for 45 minutes.
- Remove the cheesecake from the oven and let it cool for 2–3 hours before covering and refrigerating.
Ganache
- Break the Hershey’s chocolate bar into smaller pieces and place them in a heatproof bowl. Smaller pieces will melt more easily and evenly.
- Heat the heavy cream until hot but not boiling, then pour it over the chocolate. Let it sit for 2 minutes, then gently stir until completely smooth.
- Pour the ganache over the fully chilled cheesecake and gently spread it toward the edges. Refrigerate for about 1 hour, or until the ganache has set.
Topping options
- Add crushed walnuts or pecans to one side of the chocolate ganache while it is still wet for a little extra crunch.
Notes
- Use Room-Temperature Ingredients: Let the cream cheese, eggs, and sour cream come to room temperature before making the cheesecake filling. This helps create a smoother, more evenly mixed filling.
- Gently Mix the Cheesecake Filling: Once you add the eggs, mix only until each egg is incorporated. This helps avoid adding excess air to the filling, which can contribute to cracks.
- Don't Skip the Brownie Pre-Bake: The brownie layer needs a head start before the cheesecake filling is added so it stays fudgy without becoming soggy.
- Let the Cheesecake Cool Gradually: After baking, turn off the oven and crack the door open, leaving the cheesecake inside for 45 minutes. Gradually lowering the temperature can help reduce cracking.
- Chill Before Slicing: Refrigerate the cheesecake until completely chilled before slicing. For the cleanest slices, chilling it overnight works especially well.

Trish says
This is by far the best cheesecake I've ever had !!! You are the absolute queen of cheesecakes ! Thank you so much !!
NKendrick says
Thank you SO much!! So happy you enjoyed it!
Carole Bower says
Can I use a gluten-free brownie mix for the brownie layer?
NKendrick says
You most certainly can!
Mona says
I want to try this recipe but I don’t need it to be gluten free so can I use reg flour? If so would I use self rising or AP flour?
Thank You
NKendrick says
Absolutely, you can use regular flour!
Dorothy says
Could this be made in advance and frozen?
NKendrick says
Absolutely! I would just freeze it wrapped tightly then in an airtight container!
Kanden G says
Can this recipe be downsized for a 7 inch springform pan?
NKendrick says
Hi, yes, you can!
nancy says
Thanks for this gluten free cheesecake recipe. I have some relatives visiting and they are on a GF diet.
Nora says
This cheesecake was delicious! The whole family loved it and asked for more! Thank you for this wonderful treat!
Trish says
Decadent and absolutely delicious!
NKendrick says
I am so happy to hear you enjoyed it! Thank you so much!